Apr 072013
 

laundry

As many of you know, last fall I fell and broke both feet and was immobile for several months. It didn’t take long spending that much time stuck inside before it felt like the walls were collapsing in. All our possessions became stuff, just smothering clutter. I craved open space and simple surroundings.

As soon as I was back on my feet I began cleaning, giving away, selling, and trashing everything that was neither necessary nor loved. My mission to declutter the house soon became a mission to simplify life. And soon I realized it was time to take my philosophy of sustainable farming and transfer it to sustainable living. The question became, what could I make or grow that would require less dependency on weekly shopping while continuing to live a good life?

While I was totally excited to be making my own laundry detergent, I fear my family thinks I have gone crazy. That was until I told them how little I spent on ingredients and how well it worked. Ha! Who is laughing now!

Laundry Detergent

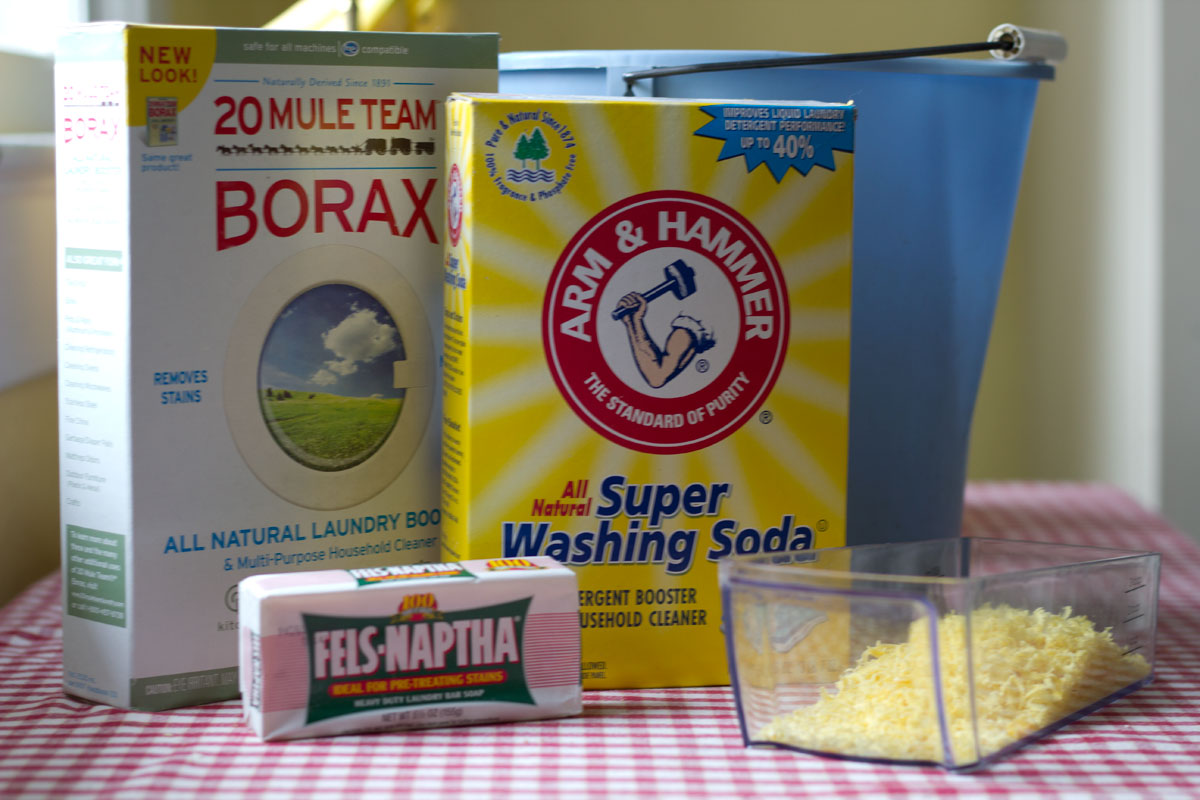
  • 1/3 bar Fels Naptha
  • 1/2 cup washing soda
  • 1/2 cup borax powder

Bring 4 quarts of water to a soft boil. Meanwhile grate a 1/3 a bar of Fels Naptha soap. Reduce heat to medium, add grated soap and stir until soap completely melts.

Add the washing soda and borax and stir until dissolved. Remove from heat.

Add quarts of cold water to clean bucket. Add hot soap mixture and stir. Let the soap sit for 24 hours or until slightly gelled.

Store in gallon container. Use 1/3 to 1/2 cup per load.

 Posted by at 12:24 am
Aug 272012
 

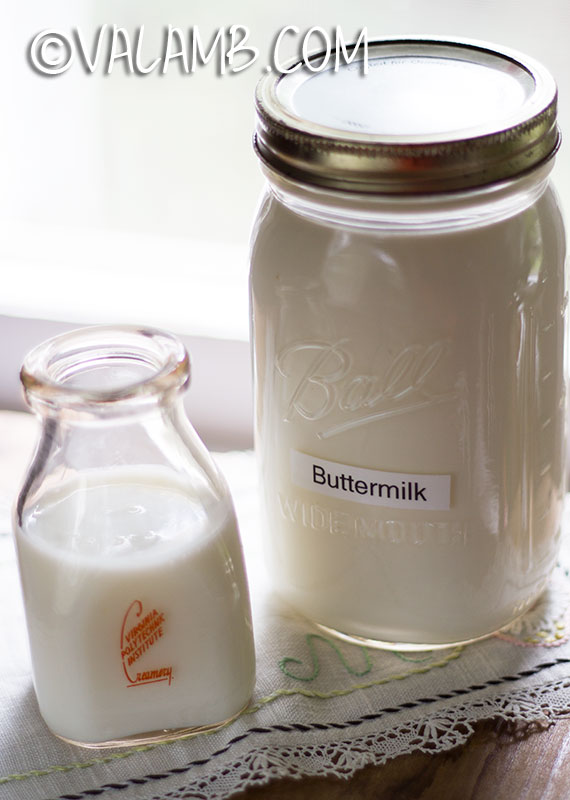
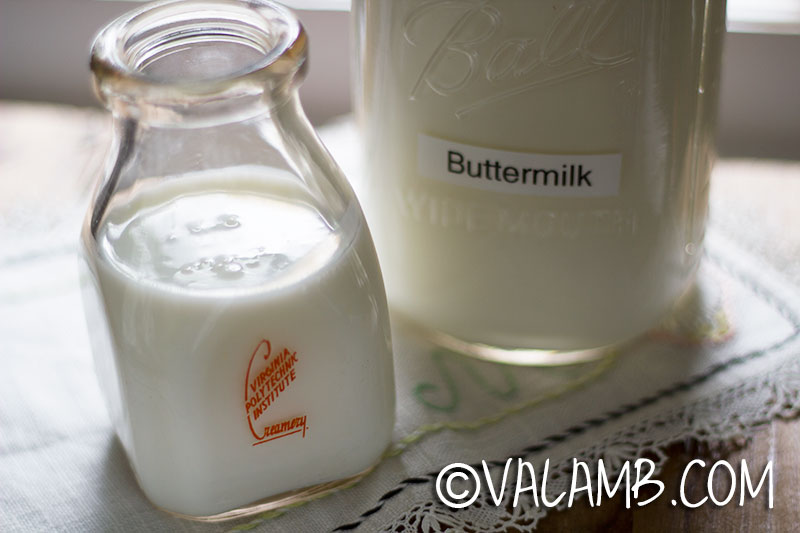
buttermilkI don’t know if it is from years of growing up on a dairy farm or if I am just a milk-yogurt-cheese-butter addict, but at any given time our frig is half full of dairy products. And ever since I began making our Rosemary Cornbread you can find a large container of buttermilk in there as well.

With it always on hand, I have found tons of other uses for the thick, delicious stuff. We make pancakes and biscuits and even salad dressing.  But when I recently read in one of my farming magazines that I could make my own, I was truly intrigued.

As it turns out, it is actually quite simple. In addition to a quart canning jar or other glass container with a lid, you will need:

  • ½ cup of store bought buttermilk
  • 1 quart of milk (2%, whole, or raw)

Instructions

Pour buttermilk into clean jar. If this is your first batch, I recommend ½ cup of buttermilk to get started. Then fill the remainder of the jar with milk. Secure lid and shake vigorously. Allow to sit on the counter overnight away from any direct source of heat. Refrigerate after 12 hours.

Every two weeks keep back at least ¼ cup of the buttermilk culture and top off with fresh milk. Because of the amount of buttermilk we go through, I re-culture mine every week.

You can keep this process going for every. And that gets two thumbs up from this farm girl!

homemade buttermilk

 Posted by at 8:00 am
Jul 112012
 

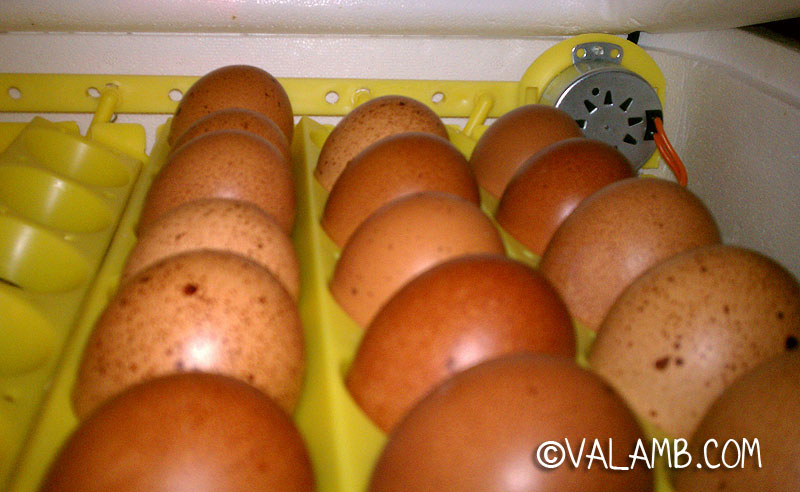
eggs in incubator

The chickens here on the farm are definitely a Mom project. Yes, everyone helps with feeding, watering, and collecting eggs, but I am the one who can sit for hours reading Backyard Poultry magazine or surfing the internet for pictures of chicken tractors. So when we decided to look at making our chicken enterprise more sustainable, I was all over it. I spent hours choosing breeds that would fit our production needs and more hours finding breeders with bloodlines that mirrored our own goals.

For the past ten years, every spring I would pour over the hatchery catalogs, placing my order for pullets (young female birds). Two questions I chose to ignore: First, how close where the chicks I was buying to the original heritage breeds? Think about it. Hatcheries are interested in selling chicks which translates into hens that lay the most eggs. Good when it comes to egg production, but what about other traits, where they being lost? And more importantly what happens to all those male chicks? I didn’t really *want* to think too hard on that question.

So was this sustainable? If our economy as we now know it drastically changed, could I continue raising chickens on the farm without help from outside my local community? Hmm… I didn’t own a rooster and many of my chickens where hybrids at best.  Yep, it was time to establish our own breeding flocks.

I set our very first hatching eggs in our brand new incubator (the Hova Bator 1588 Genesis) in early December. Since then I have done twelve batches of eggs, expanded to an incubator and designated hatcher set-up, and purchased the very best eggs I could find from Vermont to Florida, Pennsylvania to British Columbia, Canada. I have hatched out Coronation Sussex, Light Sussex, Rhode Island Reds, New Hampshires, Black & Lavender Ameraucanas, and French Black Copper Marans.

So how’s it going? Let’s see. I have had hatching rates as good as 88% and as dismal as 0% (you read that right, zero%!). Overall my hatch rates run between 55-65%. And it’s a good year for the rooster as roughly 68% of the chicks born have been males.  Not exactly what I was hoping for.

As expected, it was definitely cheaper and easier to order my spring chicks from hatcheries.  Establishing a quality breeding flock has been a bit tougher than I expected, like taking the long and winding road to an anxious-to-get-there destination. But there is something exciting (borderline addicting) about placing fertile eggs in an incubator and 21 days later having a brood of baby chicks.

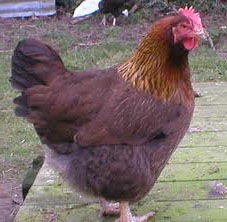
welsummer chicken

Welsummer Hen

So I am back at it again — 19 eggs due to hatch July 21st and 18 more due July 24th. Both of these batches will be Welsummer chicks, a beautiful breed known for their dark speckled eggs.

There are still a few breeds and breeders out there on my purchasing list. Unfortunately with the heat of summer fast upon us, they are going to need to wait until next year. But with any luck, next year I will be hatching out our very own eggs. The next step, finding a broody hen to take over the chore of incubating!

 Posted by at 5:47 pm
Jul 022012
 

We are very proud of our customers and their devoted interest in where their food comes from. It does not surprise us that many have asked us to raise and offer veal along with our other meat selections.
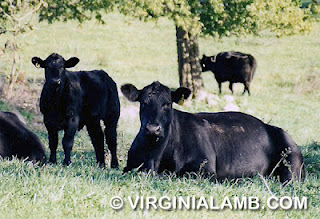
cow calf herdVeal has a rather dark cloud hanging over it, as veal operations have come under more and more scrutiny in recent years. Believe it or not, that gallon of milk you purchased this week has quite a bit to do with the US veal industry.  The commercial dairy farmer has one interest when it comes to cattle – females. Each female calf born grows up to be a productive member of tomorrow’s milking herd. The problem is that statistically 50% of the calves born are bull (male) calves and they are of little or no value to the dairy farmer. Ah, here is where the infamous veal industry comes in, they buy up all the bull calves to raise on milk replacer (powdered milk) to harvest as veal. Little did any of us realize the horrific conditions many of these animals were subjected to in the past.

In stark contrast, take our farm. We have over 180 acres where on any given day you will see cattle, sheep, goats, and chickens enjoying the sunshine and grazing green pastures (and occasionally Grandma’s flower gardens – but that’s another story).  Our animals are happy with free access to feed, clean water, shelter, and companionship. So the question is how to incorporate veal into our operation while staying true to our priority for happy, naturally and humanely raised livestock.

Our family owns and manages a cow/calf beef operation — meaning that we keep a herd of 40-50 mother cows on the farm that calve every spring. Those calves stay with the cows until weaning time when they weigh approximately 400-500 lbs. We then sell them to another farmer who continues to feed them, finishing them to 1100-1200 lbs for harvesting. We keep back a small group of calves to feed out, but simply do not have the pasture nor the market to finish 40+ calves a year.

But wait, when you really think about it, veal could be a very natural part of our operation. So we decided to harvest one of the weanling calves to give it a try. Unlike the pale milk-only fed veal you find in the grocery story you will see that ours has a nice rose color. This is from a combination of sunshine, exercise, mother’s milk, and pasture. And because our veal is from beef breeds (instead of dairy breeds) you can expect it to be flavorful, tender, and meatier. Our veal calves are not artificially raised but left on the cow to be raised the way nature intended and with no undue stress.

We can’t wait to see what you think! Here is a great recipe to get you started.

Veal Marsala

  • 8 veal cutlets or chops
    coarse salt
    freshly ground black pepper
    2 to 3 tablespoons unsalted butter
    2 to 4 tablespoons olive oil
    1 large shallot, finely chopped
    2 to 4 garlic cloves, minced
    2 ounces assorted mushrooms, sliced
    1/2 cup sweet Marsala wine
    3/4 cup chicken stock
    Leaves from 1 fresh rosemary sprig

Season veal with salt and pepper. Melt 1 tablespoon of butter and 1 tablespoon of oil in a heavy large skillet over medium-high heat.

Add 4 veal cutlets and cook until golden brown, about 1 1/2 minutes per side. Transfer the veal to a plate. Add another tablespoon of butter and oil, if necessary.

Repeat with the remaining 4 cutlets. Set cutlets aside.

Add 1 tablespoon of oil to the skillet. Add shallot and garlic. Saute until soft, about 30 seconds. Add a tablespoon of the olive oil, if necessary. Add the mushrooms and saute until tender and the juices evaporate, about 3 minutes. Add the Marsala wine. Simmer until the wine reduces by half, about 2 minutes.

Add the chicken stock and the rosemary leaves. Simmer until reduced by half.

Return the veal to the skillet. Pour in all of the pan juices. Cook just until heated through, turning to coat, about 1 minute. Stir the remaining 1 tablespoon of butter into the sauce.

Season the sauce with salt and pepper, to taste.

Related Posts Plugin for WordPress, Blogger...

 Posted by at 10:56 pm